
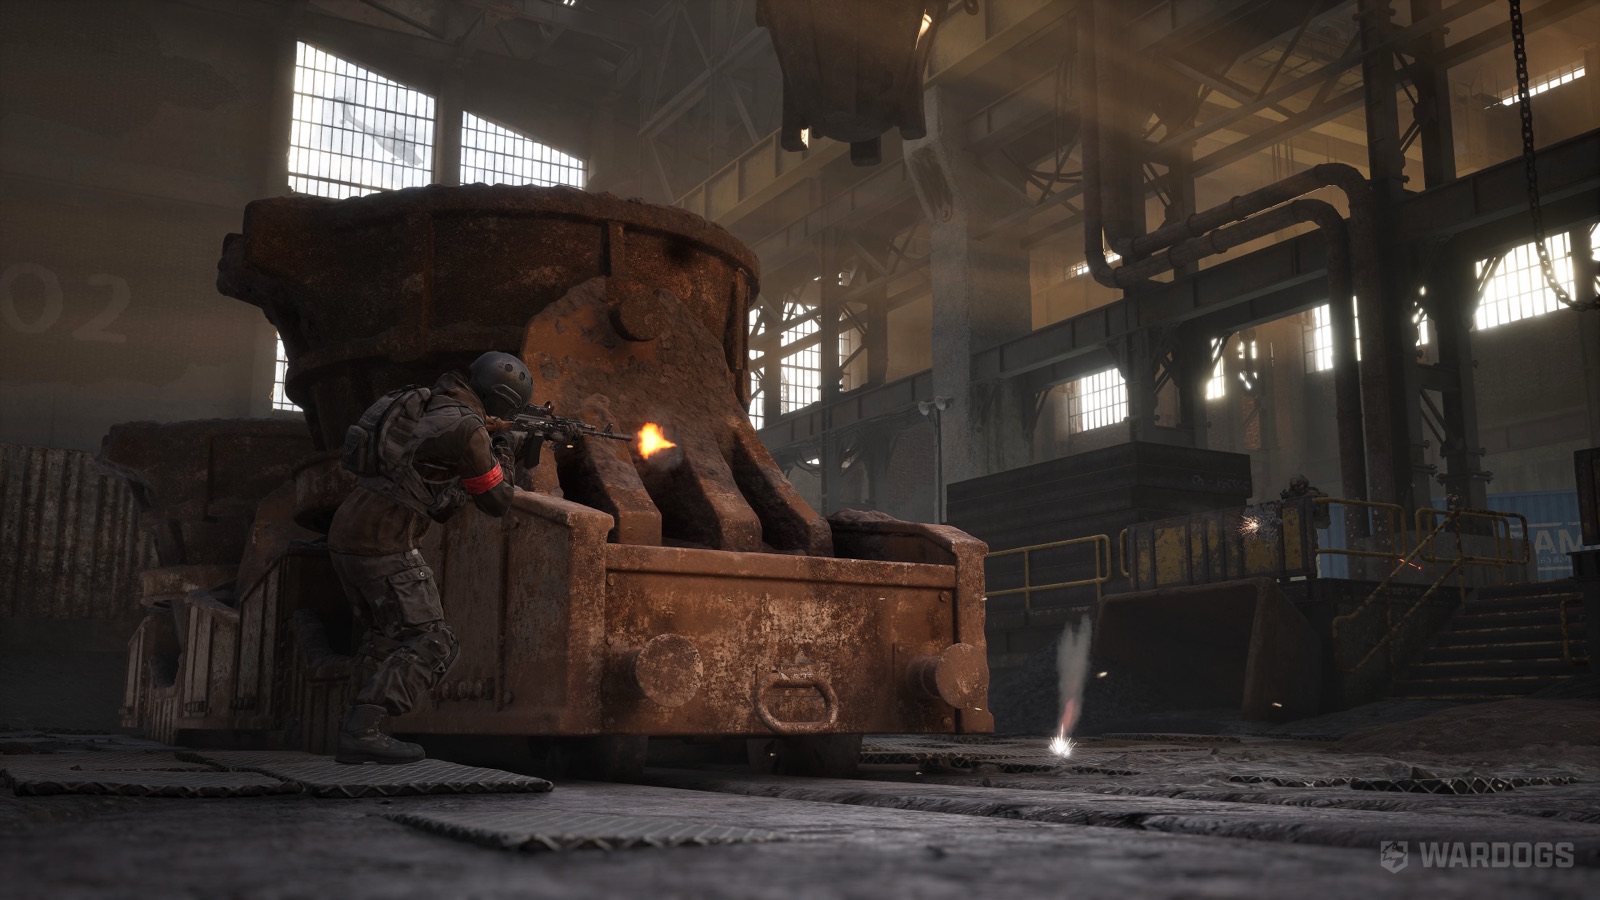
Define the Win Condition at Squad Scale
A player cannot control the entire faction, but a squad can control one useful route, one scoring pocket or one support function. Choose a local objective that clearly contributes to the match: secure the eastern approach, keep a transport route open, hold enough presence through the next tick or prevent armor from entering the zone.
Avoid vague calls such as "push harder." A useful plan names the location, required duration and exit condition. The squad should know what success looks like before spending another set of kits.
Read Three Teams, Not One Front Line
Two-team shooters encourage a simple front and rear. WARDOGS requires a triangle. At any moment, ask:
- Which faction currently has useful scoring presence?
- Which faction is spending players to attack it?
- Where can the third faction enter without crossing the main fight?
- Which team benefits if your squad fires now?
If two enemy groups are already damaging each other, direct intervention may rescue the stronger side or reveal your position. Sometimes the correct play is to secure the next entrance, let the exchange continue and enter only when the survivors can no longer cover every direction.
Win the Approach Before the Center
The objective center produces score, but the approaches determine whether that presence survives. A complete attack needs a route for infantry, a way to answer vehicles and enough rear observation to detect the third faction.
Do not send the entire squad through one opening. Use one element to create pressure and another to watch the route that would trap the attackers. When the first group reaches cover, the second can move. This leapfrogging pattern preserves a way out while gradually increasing useful presence.
Defenders should think the same way in reverse. Do not wait for enemies to enter the exact scoring space. Observe the routes early enough to call the attack and choose where to trade ground.
Turn Scoring Windows into Decision Points
Current Beta reports describe Control Zone presence, a higher-value Hot Zone and match systems tied to towers. Exact weights and timing require current-build verification, but every scoring window creates the same decision:
- Do we have enough living presence to contest?
- Can reinforcements arrive before the next meaningful score event?
- Is the third faction about to attack the same position?
- Will staying here prevent an earlier rotation?
If the answer to the first two is no, another expensive spawn may arrive too late. Change the route or prepare the next position instead of repeating the same entry.
Use the Third Faction as Pressure
You do not need to personally remove every defender. If the third faction attacks the same position, choose an angle that prevents the defenders from escaping toward you while avoiding a premature fight with the new attackers.
Watch the kill feed, vehicle sounds, explosions and movement away from known entrances. These signals help estimate which side is spending resources. Enter when the fight creates a clear scoring or positioning advantage, not simply when it becomes loud.
After the defenders break, expect the temporary indirect partnership to end immediately. Do not stand in the open celebrating the capture. Reorient toward the faction that just helped create the opening.
Spend Cash for the Next Swing
The correct loadout depends on what the match needs next, not what worked twenty minutes earlier. A defensive long-range kit may become poor value when the zone moves into close terrain. An anti-vehicle kit may become urgent when one lane is dominated by armor.
Use three spending levels:
- Recovery: inexpensive kit for rebuilding information and presence after a failed push.
- Standard: repeatable kit that performs the squad's normal role.
- Commitment: expensive specialist kit used when the team has transport, information and a position worth converting.
Do not use a commitment kit merely to recover the previous loss. Spend it when the next scoring swing provides a reason.
Know When to Hold, Push or Rotate
Hold
Hold when the team has useful presence, covered approaches and a working reinforcement route. Improve information and survivability instead of moving every player toward distant gunfire.
Push
Push when enemy presence is reduced, another faction has split defender attention or the team needs a short increase in objective weight. Name the stopping point before moving.
Rotate
Rotate when the objective changes, the rear route is compromised, supplies cannot reach the position or the enemy has established angles that make every reinforcement repeat the same death. Early rotation is a strategic action, not an admission of defeat.
Vehicle and Logistics Decisions That Win Matches
Transport compresses the time between headquarters and useful ground. A vehicle that makes several safe trips may contribute more than one used for a dramatic charge. Protect the route, dismount passengers before the vehicle becomes trapped and preserve enough fuel or mobility for the return.
Supplies should arrive where players can use them without exposing the delivery asset. A supply point on the exact center may be convenient for seconds and vulnerable for the rest of the fight. Put logistics behind the defended approach, not inside the most obvious fire lane.
Communication for Three-Team Fights
Every call should identify the faction or direction when possible. "Enemies west" is more useful than "they are here," but "vehicle west road moving south, hold the crossing" also tells the team what to do.
Use three recurring calls:
- State: friendly presence, casualties and available support.
- Threat: enemy direction, type and movement.
- Decision: hold, push, disengage or rotate.
Repeat the decision when the fight becomes noisy. Players can tolerate incomplete information if the immediate action remains clear.
Common Ways a Winning Team Throws the Match
- Chasing retreating enemies away from scoring ground
- Sending every defender toward the same visible attack
- Ignoring the third faction after winning a major fight
- Rebuying expensive kits after the objective has changed terrain
- Parking transport where it blocks the only friendly route
- Defending old construction because it was expensive
- Arriving at the next zone after both opponents have established approaches
A Simple Squad Decision Loop
Every few minutes, or after a major score change, run this loop:
- Read: score, active zone, friendly route and both enemy directions.
- Choose: one local objective for the squad.
- Resource: select kits and transport for that objective.
- Execute: move with a stated stopping point and exit.
- Convert: turn kills or pressure into score, route control or supplies.
- Leave: rotate before the position becomes a sink for cash and players.
Verification Notes
Exact match score targets, zone weights, tower interactions and reward values are build-sensitive. The decision framework on this page does not depend on a fixed multiplier: it focuses on presence, approach control, timing, transport and three-team pressure.
Sources and Related Guides
Last checked: 2026-08-24. Scoring and tower values require a current-build check.