
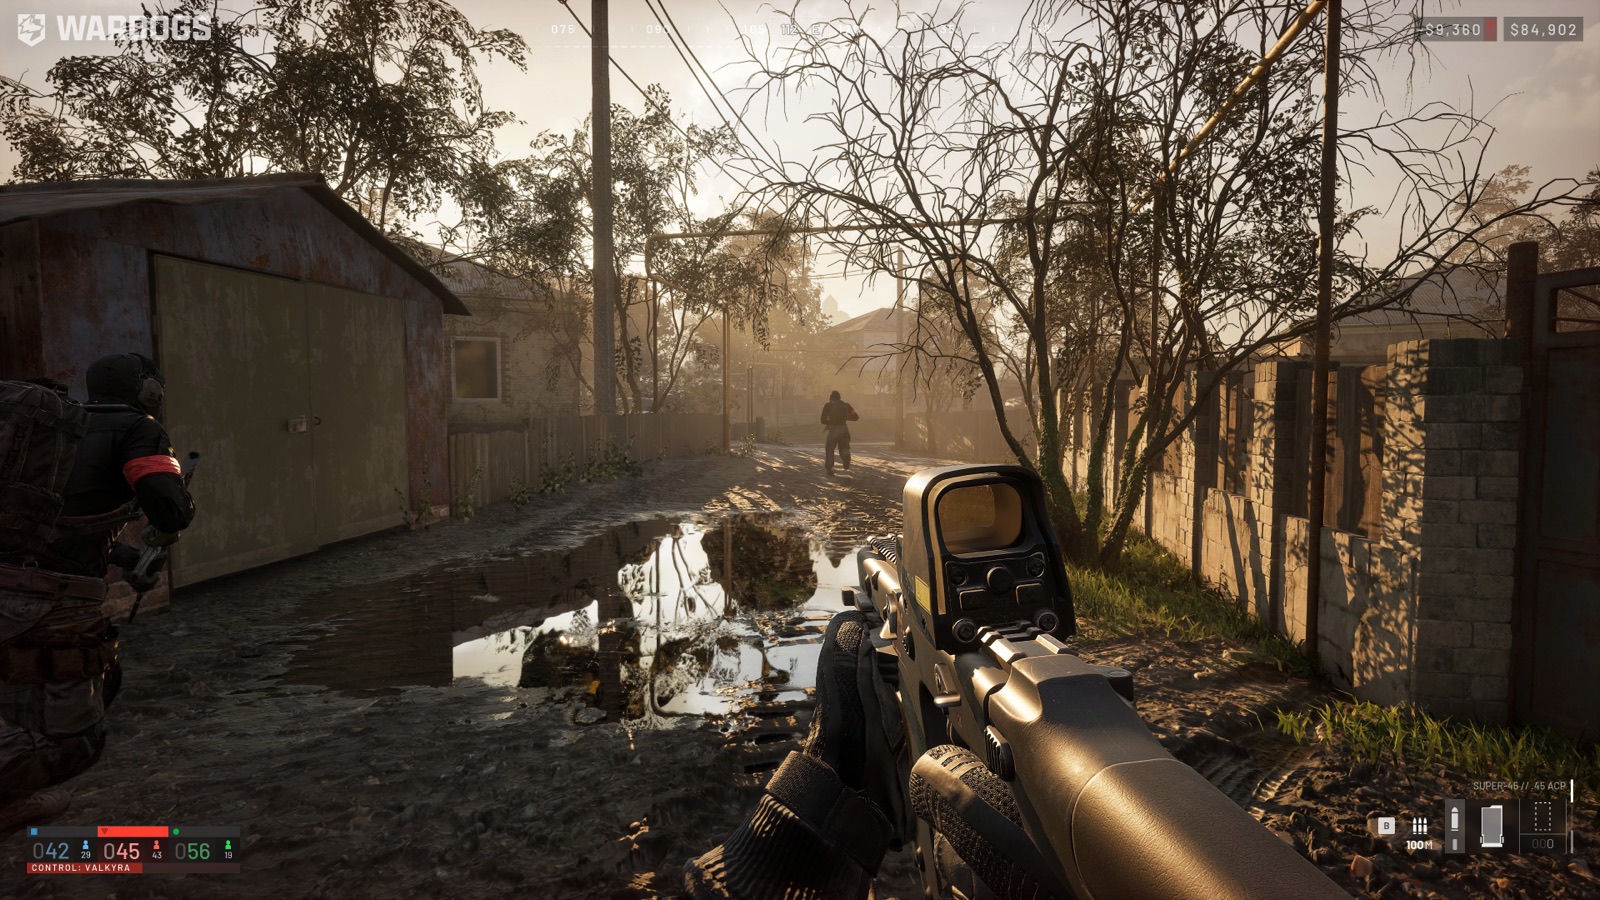
Before You Spawn: Understand the Match in One Minute
WARDOGS is built around a large contested objective rather than a sequence of small team-deathmatch rounds. Three factions can influence the same fight, which means the enemy directly in front of you is never the whole tactical picture. A squad can win an engagement and still lose the useful ground when the third faction arrives from an unobserved route.
The Control Zone is the center of the scoring problem. Current Beta reports also describe a higher-value Hot Zone and towers connected to the wider objective system. Exact scoring values, tower interactions and zone timing can change by build, but the beginner decision remains stable: put enough players in scoring positions, keep them alive through the scoring window, and protect the routes that let replacements arrive.
Before buying anything, answer four questions:
- Where is the current objective relative to headquarters?
- Does the team need another player in the zone, or somebody protecting the approach?
- How will this life reach the fight?
- What is the most expensive item you are prepared to lose?
If you cannot answer the first three, an expensive rifle will not solve the problem.
Build a First Loadout Around One Job
Your first kit should be complete rather than impressive. A primary weapon without suitable ammunition, magazines, basic medical support or a plan for the expected distance is not a finished loadout. Price the whole life before leaving headquarters.
For a first infantry run, use a familiar weapon category, enough compatible ammunition to survive more than one contact, and only the utility you expect to use. Avoid buying several specialist tools for unrelated jobs. An anti-vehicle launcher, construction equipment and a full medical setup may all be valuable, but carrying them together does not make one player three specialists.
Use this test for every purchase: if the item survives unused in your inventory during three typical versions of the planned job, remove it and preserve the cash. The purpose of an early loadout is to learn the route and fight without turning every mistake into a large financial setback.
The weapon list records reported prices, rates of fire and damage values. Use those fields to compare options, but treat the capture date as part of the number. A Beta price is a planning reference, not a permanent promise.
Leaving Headquarters Without Wasting the First Life
The fastest transport is not automatically the safest transport. A helicopter can move a group quickly, but an inexperienced pilot can also destroy several paid kits before they reach the fight. A ground vehicle may offer a more controllable route while exposing the group to road ambushes and anti-vehicle fire. Walking costs no vehicle, but may waste enough time that the objective changes before arrival.
Before boarding, listen for a destination and route. If nobody can state either one, choose a lower-risk option. Once moving, remember at least one landmark and one alternate path. That small mental map becomes the foundation for every later respawn.
Do not wait until incoming fire to decide where passengers will dismount. A useful drop point gives the squad cover, more than one exit and enough distance to observe the objective before committing. Parking directly on the scoring center may save a short run while revealing the vehicle, blocking friendly movement and removing the team's escape route.
Your First Contact: Slow Down and Read the Fight
New players often die because they react to sound before understanding direction. When the first shots arrive, move to cover, identify whether the threat is infantry or a vehicle, and decide whether the squad has been detected. Do not return fire simply because a target is visible. Shooting can reveal the route to both enemy factions.
A good first callout is short: landmark, direction, threat and movement. For example, report an enemy vehicle moving along a named road and ask the squad to hold or relocate. Avoid long descriptions that arrive after the threat has already crossed the opening.
Use single fire or controlled bursts when distance and recoil make automatic fire wasteful. Check weapon zeroing before committing to a distant shot, especially after changing optics or moving between terrain levels. The ballistics guide explains how to test range, ammunition and point of impact without changing several variables at once.
How to Help at the Control Zone
Do not interpret "play the objective" as "stand in the most exposed part of the circle." The team needs players who count toward score, but it also needs the conditions that keep those players alive.
A simple objective group can divide into three layers:
- Scoring presence: players using available cover inside the relevant area.
- Approach control: players watching the routes enemies must use to contest.
- Support route: medics, supplies, transports and replacements moving between safe ground and the objective.
If every player chooses the first layer, one flank or vehicle can collapse the entire position. If nobody chooses it, the team may win firefights without converting them into score. Check which layer is missing before choosing your position.
Keep watching the third faction. When the other two teams are fighting, your best action may be to gain score, move to the next useful approach or let both sides spend resources before intervening. The How to Win guide develops this three-team decision in detail.
Six Useful Beginner Roles
You are not required to solve every problem with direct kills. Choose the job that matches the equipment you can afford and the information you currently have.
Infantry
Move with another player, establish crossfire and preserve the route back to cover. Infantry value comes from making a location usable for the rest of the team, not from taking the first shot at every target.
Medic
Stay close enough to reach casualties without being the first casualty. Clear the angle before beginning a revive and make sure the revived player has somewhere to move. Read the Medic guide before buying a full support kit.
Recon
Use observation and spotting tools to identify routes, vehicles and enemy concentrations. Information has value only when it reaches somebody who can act on it, so pair every mark with a concise callout.
Engineer
Build or repair for a specific tactical purpose: keep a route open, protect a spawn or transport asset, or create cover where the objective will remain valuable. The Engineer guide explains why more structures do not automatically create a better position.
Driver or Pilot
Deliver players alive and leave the vehicle in a position that supports the next trip. Transport is a repeated service, not a one-way charge into the center. Check the vehicle database for reported seats, speed, fuel and prices.
Logistics
Move supplies and maintain a route between headquarters and the fight. A logistics player succeeds when several other players can repeat their jobs without returning all the way to base.
Cash Discipline for the First Several Matches
Cash changes how mistakes compound. One lost expensive kit can force the next life into a role it cannot perform, while several affordable productive lives can expand future choices.
Track three numbers mentally: the cost of the current life, the amount needed for the fallback kit and the amount you are willing to risk on a vehicle. Never spend the fallback reserve on an attachment that does not change the intended range or job.
Beta reports describe income from multiple team actions, including objective presence, transport, supplies, medical support, reconnaissance and combat. Exact payouts require a current-build check. The stable principle is to select actions that help the team and can be repeated without gambling the full balance.
After a profitable life, do not immediately convert every gain into a more expensive rifle. First ask which limitation actually reduced performance. If the death came from a poor route, spending more on damage repeats the same mistake at a higher price.
What to Do After the First Death
The first death is useful information. Do not skip the lesson by purchasing the same kit immediately.
Review the death in this order:
- Information: Did you know where the shot, vehicle or third faction came from?
- Position: Did the location have cover, an exit and friendly support?
- Timing: Was the objective still worth contesting when you arrived?
- Equipment: Did a missing item prevent the job, or was the item never given a chance to matter?
- Budget: Can the same attempt be repeated without damaging the rest of the match?
Change the earliest failed layer. If information was missing, a more expensive armor purchase is unlikely to fix the next life. If the position was already surrounded, another magazine does not create an exit.
First-Match Checklist
At Headquarters
- Read the objective and choose one job.
- Buy compatible ammunition and magazines.
- Keep enough cash for a fallback kit.
- Decide how the squad will travel and where it will dismount.
On the Approach
- Learn one landmark and one alternate route.
- Identify the likely vehicle lane and third-faction entry.
- Preserve medical and utility items until they solve a real problem.
At the Objective
- Fill the missing layer: scoring, approach control or support route.
- Call location, threat and requested action.
- Rotate when the objective or useful approach changes.
After Death
- Diagnose information, position, timing, equipment and budget in that order.
- Change the next kit to match the current team need.
- Do not chase the previous loss with a more expensive respawn.
Frequently Asked Questions
Should a beginner buy the cheapest possible weapon?
Not automatically. Buy the least expensive complete kit that can perform the planned job. A weapon that cannot cover the expected range or lacks usable ammunition wastes the travel time and still ends in a paid respawn.
Should I go directly to the Hot Zone?
Only when the team can reach and support it. Current reports describe increased value inside the Hot Zone, but higher value also attracts concentrated fire. Secure an approach and keep a way out.
Is playing solo viable?
Yes, but choose work that does not require unspoken coordination. Reconnaissance, route security, medical support near a larger group and careful transport can all contribute. The solo guide covers how to reduce dependence on a premade squad.
What should I learn before weapon statistics?
Learn the scoring loop, travel routes, ammunition handling and the cost of death. Weapon statistics become useful after you know the distance and job you are buying for.
Verification Notes
This guide uses stable tactical principles and labels build-sensitive claims as Beta reports. Starting balances, exact objective weights, tower behavior, role rewards, default keybinds and item prices should be checked again after a major update.
Sources
Last checked: 2026-08-24. Build-sensitive values are kept separate from the decisions that remain useful after balance changes.