
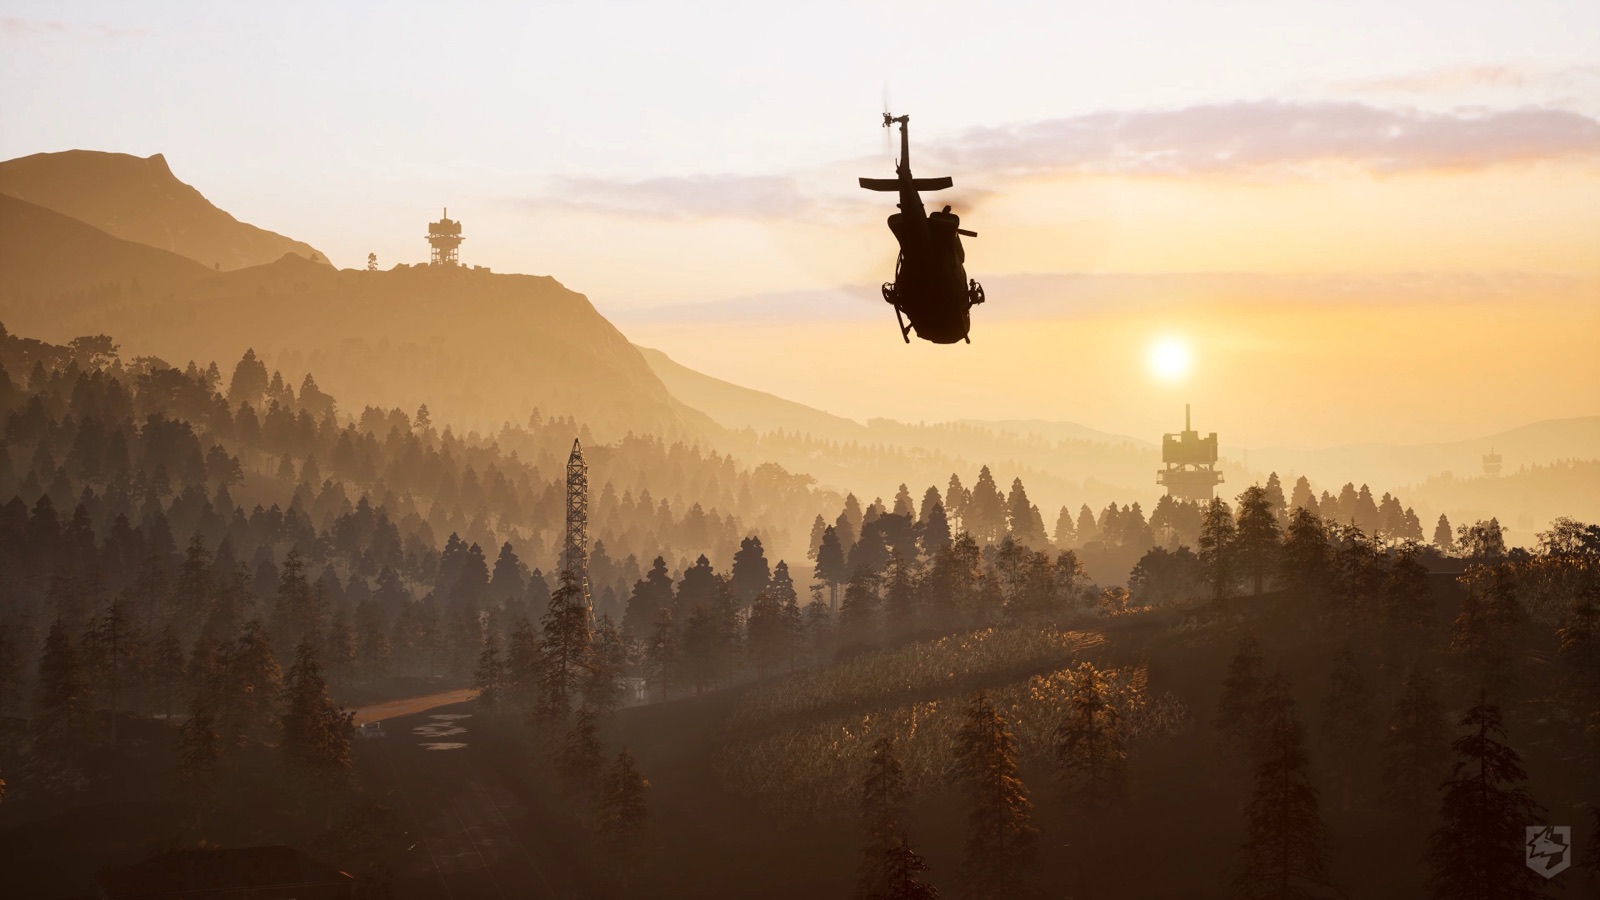
Start with Five Anchors
On the first trip from headquarters, identify five things:
- Current objective direction
- One large landmark visible from several angles
- Primary infantry approach
- Primary vehicle lane
- A fallback position outside the immediate fight
These anchors are enough to make useful calls and survive a rotation. Add detail only when it changes a decision. Memorizing names without understanding the routes between them creates trivia, not awareness.
Use Landmarks That Teammates Can See
Good landmark names are short, distinctive and visible from the current area: water tower, red roof, bridge, quarry, river bend or warehouse entrance. Avoid private names that only one squad member understands.
Combine landmark, direction and movement. "Two infantry leaving red roof toward bridge" lets teammates predict a route. "Enemies over there" expires immediately.
When the team moves to a new area, agree on two or three names before contact. Consistency matters more than finding the perfect label.
Separate Infantry and Vehicle Geography
Infantry can use cover, gaps and elevation changes that vehicles cannot. Vehicles need width, turning space, manageable slopes and an exit that does not require reversing under fire.
Mark both route types mentally. A safe infantry flank may cross an exposed vehicle lane. A fast road may be a predictable anti-vehicle choke point. When calling a threat, identify which network it occupies so the correct players react.
Drivers and logistics players should read the vehicle database together with terrain. Top speed is irrelevant when the route cannot support the vehicle's size or turn.
Track the Third Faction
Three-team awareness begins with the last confirmed direction of both opponents. After a major fight, ask which team was absent. The missing faction is not inactive; it may be rotating, rebuilding or approaching the weakened survivors.
Use indirect signals:
- Gunfire moving away from a known approach
- Vehicle audio without matching friendly marks
- Explosions behind the current front
- Teammates disappearing along a previously safe route
- Enemy players suddenly disengaging from your squad
- An objective entrance becoming quiet without being secured
Silence can mean a route is empty, but it can also mean the opponent has stopped shooting to move.
Read Terrain Before Crossing
Before leaving cover, identify the next cover, the angle that can see the crossing and the point from which retreat becomes impossible. Cross as a group only when one element can observe while another moves.
Open ground is not always avoidable. Reduce exposure by crossing at an unexpected time, using terrain folds, smoke or vehicle support, and avoiding a straight line from the last known enemy position.
Do not stop in the first cover if it blocks the players behind you. Continue far enough to create room for the rest of the squad.
Build a Route With Entry, Work Area and Exit
Every objective plan should include:
- Entry: how the squad reaches useful cover
- Work area: where the assigned role can affect score or the approach
- Exit: where survivors move after detection or objective change
Many failed pushes have an entry and no exit. The squad reaches a strong room or ridge, then discovers that every enemy knows the only doorway. A position without a withdrawal route is an ambush waiting for the timing to change.
Update the Map After Contact
After a fight, do not only count kills. Record what the fight revealed:
- Which route the enemy used
- Whether they had vehicle or medical support
- Where friendly fire lanes were blocked
- Which exit remained open
- Whether the third faction heard or observed the engagement
Move one player to check the rear before the group loots, heals or advances. The moment after winning contact is when attention is narrowest and the squad is most attractive to a third team.
Objective Rotations
Rotate based on travel time, not only the moment the objective visibly changes. A squad with a vehicle can wait longer than infantry on foot, but the vehicle also needs a safe route and dismount point.
When leaving, choose whether to screen the retreat, move the support assets first or race for the next approach. Do not let every player independently choose a route. Split movement without a shared destination produces isolated arrivals that cannot establish control.
The Control Zone guide explains how approach control supports scoring presence.
Reconnaissance That Produces Action
Observation is useful when it changes movement, targeting or spending. A complete report includes:
- Who or what was seen
- Landmark and direction
- Distance or time to contact when known
- Movement direction
- Recommended response
Marking a distant vehicle without telling anti-vehicle players which road it is using creates incomplete information. Over-reporting every single infantry silhouette can also hide the important threat.
Prioritize information that changes the squad plan: transport, armor, concentrated infantry, a new third-faction route or an exposed support asset.
Map Awareness for Different Roles
Medic
Track the casualty route and a protected location where revived players can move. Do not enter a dead-end casualty cluster.
Engineer
Build where the position controls a route and remains connected to supplies. Check vehicle clearance before fortifying.
Logistics
Maintain primary, alternate and abort routes. Share landmark names with replacement drivers.
Anti-Vehicle
Cover lanes that force predictable movement while preserving a relocation path after firing.
Solo Player
Stay near a larger friendly movement route without occupying its exact center. This provides information and support while keeping an escape option.
Common Awareness Failures
- Memorizing locations but not the routes between them
- Using callout names teammates do not understand
- Watching the active enemy and forgetting the absent faction
- Treating a road as safe because the previous trip succeeded
- Entering strong cover with only one exit
- Rotating individually without a shared destination
- Looting immediately after a loud fight without checking the rear
A 20-Second Map Check
Run this check after a death, major fight or objective change:
- Where is the active objective?
- Where were both enemy factions last confirmed?
- Which friendly route is still repeatable?
- Which vehicle lane is dangerous?
- Where will the squad go if the current position fails?
Verification Notes
Map layouts, tower locations, objective behavior and vehicle access can change. The landmarks in future map-specific pages will carry capture dates. This guide focuses on a reusable method for learning any current layout.
Sources and Related Guides
Last checked: 2026-08-24. Map-specific records require a current-build review.