
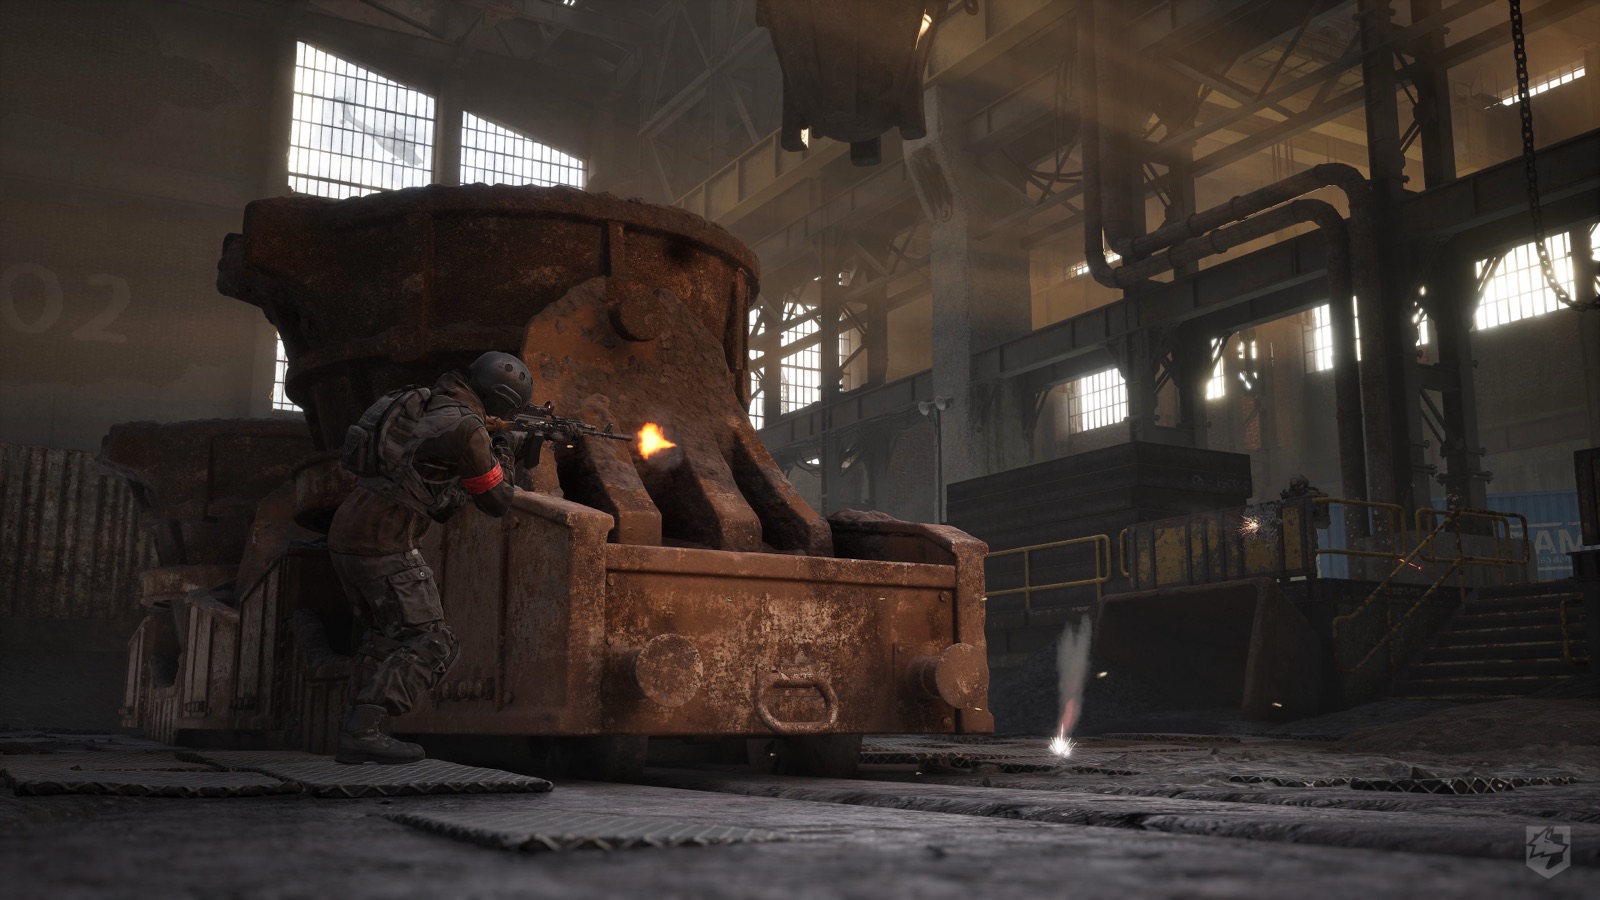
Position Behind the First Contact
A medic should be close enough to reach the squad but far enough behind the first contact to remain available. If the medic enters every doorway first, the team loses its recovery option before casualties occur.
Move from cover to cover and watch the route the squad may need to retreat through. Your position should connect the frontline with a safer treatment or regroup area. Avoid standing directly behind the largest group, where one burst or explosive event can create several casualties and remove the medic together.
Evaluate the Casualty Before Moving
Before approaching, answer:
- What caused the casualty?
- Is that angle still active?
- Can the downed player move after revival?
- Will the revive restore an important position or role?
- Is another casualty safer and more valuable first?
The nearest body is not always the correct priority. A player down in an exposed lane may be bait. A safer revive behind cover can restore a second weapon, which then helps secure the dangerous casualty.
Clear, Conceal or Abandon the Angle
There are three responses to an unsafe revive angle:
- Clear: teammates remove or force away the threat.
- Conceal: smoke, terrain or another obstruction breaks the line long enough to work.
- Abandon: the position cannot be made safe before the objective or enemy changes.
Abandoning a revive can be correct. Trading the medic for a player who cannot survive the next seconds converts one casualty into two and removes future support.
Communicate the Revive Plan
Tell the downed player whether you are coming, waiting or unable to reach them. This prevents repeated calls and lets the rest of the squad plan around the actual manpower.
Ask living teammates for a specific action: hold the doorway, watch the road, suppress the upper window or prepare to move after the revive. "Cover me" is too broad when several angles exist.
After revival, state the safest direction. A player who stands into the original line of fire immediately wastes the entire attempt.
Revive Priority
Use this order as a starting point, then adapt to the objective:
- The medic's own survival and exit
- Casualties already in protected positions
- Players preserving objective presence or the only safe route
- Unique roles such as anti-vehicle, transport crew or another medic
- Exposed casualties that require a coordinated recovery
Do not prioritize a high-cost kit only because it was expensive. Restore the player whose return changes what the team can do next.
Build a Casualty Collection Point
When several players are fighting from one area, identify a protected location for healing, ammunition checks and revived players. It should be close enough to reach without a long detour, but outside the predictable grenade and vehicle lanes.
The location needs at least two exits. A perfect medical corner with one doorway becomes a trap when the third faction arrives. Engineers can improve the space, but construction must not block casualty movement.
Medical Loadout Planning
The medic kit must preserve enough inventory and budget for repeated support. Buy a weapon that protects the expected treatment distance rather than competing with the frontline's most expensive rifle.
Separate personal survival items from team medical supplies. If every item is consumed on the medic before reaching casualties, the role cannot continue. At the same time, carrying excessive support with no armor, ammunition or exit plan turns the medic into a valuable loot package.
Use the loadout guide to price the complete life and protect a fallback medical kit.
Smoke and Visual Cover
Smoke can break a line of sight, but it also removes friendly information and announces that a revive or movement is occurring. Place it to block the threat's view, not directly on every friendly position by habit.
Before using smoke, know where the revived player will exit. If the smoke covers both the threat and the only safe route, the squad may emerge in the wrong direction or allow the enemy to close distance unseen.
Supporting a Push
During an attack, follow the second element rather than the first. The first element finds contact; the second establishes enough control for medical work. Move the casualty rearward when possible instead of performing every treatment at the point of impact.
Preserve momentum without chasing every body. If the squad has secured new cover and one casualty lies behind the abandoned line, returning alone can split the force and remove support from the active push.
Supporting a Defense
On defense, avoid a fixed medic position that enemies can pre-aim. Use a short circuit between likely casualty areas and change after each visible revive.
Keep track of the fallback layer. When the first line collapses, move before the casualty wave reaches you. A medic alive in the fallback can rebuild the defense; a medic trapped in the first line cannot.
Third-Faction Risk
Revives create narrow attention. After one team is repelled, the squad often looks toward the defeated direction while healing and looting. Assign one healthy player to watch the rear and vehicle lane before starting multiple revives.
If gunfire suddenly stops on another side of the objective, assume movement until observation proves otherwise. Do not let a successful recovery gather the entire squad into one easy third-party attack.
Measuring Medic Value
Do not judge medical work only by revive count. Better measures include:
- Revived players who survived long enough to resume their role
- Objective presence preserved
- Expensive or unique team assets kept operational
- Casualties avoided because the medic maintained a safe regroup route
- Number of times the medic survived to support another engagement
Beta reports connect medical actions with cash or progression, but exact rewards can change. Team continuity is the reliable value.
Common Medic Mistakes
- Running to the nearest casualty without identifying the threat
- Reviving in the same exposed position where the player fell
- Asking for generic cover instead of naming an angle
- Using smoke without an exit direction
- Carrying a full support inventory but leading the assault
- Attempting every revive after the objective has moved
- Grouping all surviving players around the casualty
Revive Decision Checklist
- Identify cause and active angle.
- Confirm your own cover and exit.
- Ask for one specific covering action.
- Decide clear, conceal or abandon.
- Revive the player whose return changes the team position.
- Direct movement away from the original threat.
- Relocate before the next casualty.
Verification Notes
Revive time, health state, interruption rules, medical item costs and reward values are build-sensitive. Test those details after updates. The positioning and priority method remains useful without assuming a fixed interaction time.
Sources and Related Guides
Last checked: 2026-08-24. Medical timing and reward values require a current client.